
Among stablecoins (cryptocurrencies with a strict peg to global fiat currencies), Tether (USDT) has gained particular popularity. This coin has long become a convenient tool for storing value and making payments in cryptocurrency. It allows users to benefit from a solid peg to the US dollar without the limitations of traditional payment systems.
USDT TRC20 Wallet on the Tron Network
One of the most popular networks for working with USDT is TRON, where tokens are issued under the TRC20 standard. This version of USDT offers relatively fast and inexpensive transfers, making it convenient for daily transactions and moving funds between exchanges and wallets.
In this article, we will explore what USDT TRC20 is, how it differs from other standards, where such tokens can be stored, and how to create your own wallet for working with them on the TRON network.
What Is USDT TRC20?
TRC20 is a token standard on the TRON blockchain that defines the rules for how tokens are created, accounted for, and transferred within this network. It specifies basic functions—tracking the total token supply, storing user balances, executing transfers, and managing permissions for other smart contracts to use the tokens. Thanks to this standard, the TRON network and applications operating within it can uniformly understand and process any tokens issued according to these rules, including their transfers and interaction with decentralized services.
In practice, this means that a TRC20-standard token does not exist as a separate file or digital object but rather as a record in a specific smart contract on the TRON blockchain. This contract tracks which addresses hold tokens and in what quantities, and it is responsible for updating these records when transfers occur between users. For the token holder, this looks simple: they see their token balance in their TRON wallet, can send tokens to other users, and use them in TRON-compatible applications, including exchanges and DeFi services. However, technically, all operations with such tokens occur within the blockchain according to the TRC20 standard rules.
When we talk about USDT TRC20, we mean the Tether stablecoin issued under this standard on the TRON network. Essentially, each USDT TRC20 token is a record in a TRON smart contract confirming that the holder has a claim to a certain US dollar equivalent. Transferring USDT uses the same mechanism as any other TRC20 token: when tokens are sent, the balance in the contract decreases for the sender and increases for the recipient. Transfers occur quickly—typically within seconds—and require minimal fees, which are paid in TRX coins used on the TRON network to cover gas (transaction costs) for any operation.
Thus, the essence of the TRC20 standard is that it enables the TRON blockchain to “understand” tokens, ensuring their compatibility with wallets, exchanges, and other applications within the network. USDT TRC20 is the ecosystem implementation of the USDT stablecoin within this system. It allows storing and transferring dollars in digital form with high speed and low cost within the TRON network, using the technical foundation of the TRC20 standard.
USDT TRC20 Contract Address
The USDT contract address on the TRON network is the unique identifier of the smart contract that manages all USDT tokens on this network. This contract tracks how many tokens each address holds, executes transfers, and ensures the token functions correctly within the TRON ecosystem.
It is important to know the correct contract address to avoid errors and fraudulent counterfeits. When transferring or adding the USDT token to a wallet, users specify this exact address so that the crypto wallet correctly displays the balance and allows transfers. The official USDT TRC20 contract address on the TRON network is:
TXLAQ63Xg1NAzckPwKHvzw7CSEmLMEqcd
If you enter an incorrect address, you may lose access to your tokens or accidentally send funds to a contract that does not support them. Therefore, verifying the address before conducting any USDT operations is mandatory.
The good news is that in the vast majority of cases, your USDT wallet developers will handle this work for you. However, if you need to manually add the token contract, this address must of course be strictly verified. Scammers sometimes create fake tokens with the same name “USDT” but with a different contract address. If you send funds there, the coins will likely be lost, as the fake contract has no real value and is not supported by Tether.
Where to Store USDT TRC20
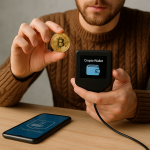
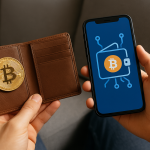
USDT TRC20 can be stored in any wallet that supports the TRON network and works with TRC20 tokens. Such wallets allow you to create addresses starting with the letter “T,” receive and send USDT, and interact with decentralized applications in the TRON ecosystem.
For storing USDT, mobile wallets like Trust Wallet, TronLink, and MathWallet are most commonly used. They are convenient for everyday operations and help quickly receive and send tokens. These applications usually display balances automatically and allow management without complex settings.
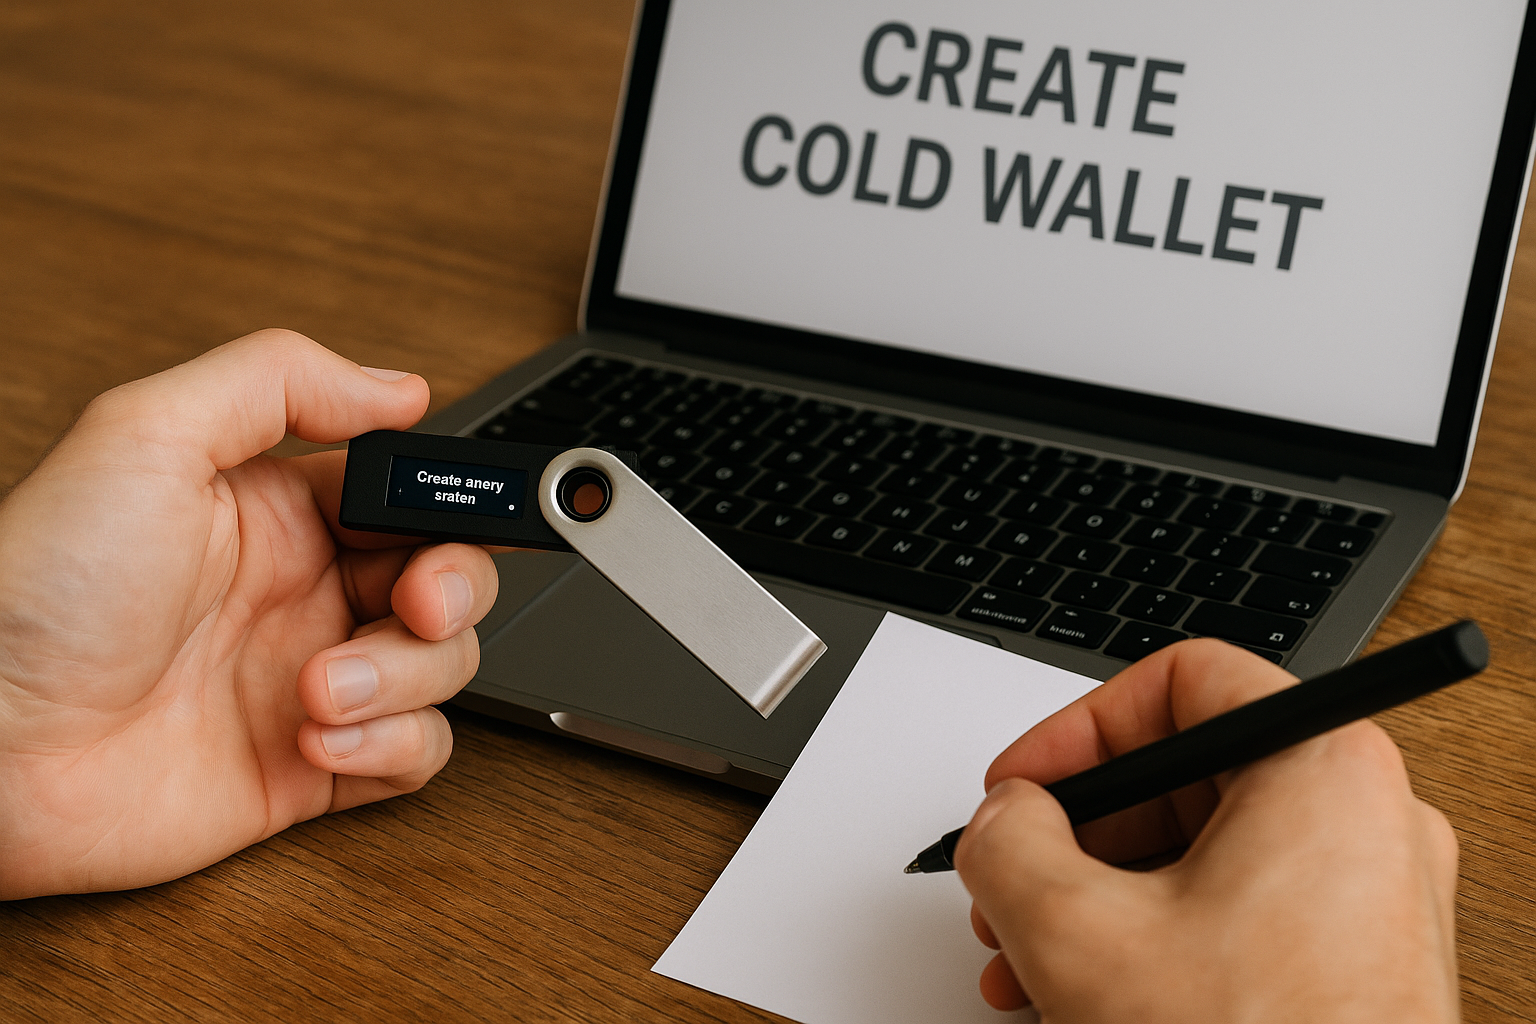
Another storage option is hardware crypto wallets like Ledger or Trezor, which support TRON operations by connecting to wallet applications. This storage method is suitable for large sums and long-term holding, as hardware wallets reliably protect private keys and reduce theft risk in case of phone or computer compromise.
It is important to remember that for any transaction on the TRON network, you will need a small amount of TRX tokens in your wallet balance to pay the transfer fee. Even if the wallet supports the token, you cannot transfer USDT without TRX in your account.
How to Create a TRC20 Wallet – Step-by-Step Guide
Modern crypto wallets are very easy to use and do not require deep technical knowledge. Let’s walk through the steps of creating a TRC20 wallet and conducting transactions.
Initial Setup
First, you need to create a wallet that supports the TRON network and works with TRC20-standard tokens. Trust Wallet or TronLink are suitable options, which can be installed on your smartphone from the App Store or Google Play. After installation, the app will offer to create a new wallet and generate a 12-word seed phrase. Write this phrase down on paper and store it in a secure location, as this phrase grants access to your wallet, and without it, recovering access in case of device loss will be impossible. After creating the crypto wallet, it will be ready to receive tokens and conduct transactions on the TRON network. For this example, we will use the Trust Wallet extension for Chrome. To do this, go to trustwallet.com…
…and install the extension.
After downloading, the installation process will begin automatically. You can restore a wallet from a seed phrase (if you created a crypto wallet previously) or create a new one. In our case, we will use the “Create New” function.
The first step is to create a password for working with the wallet and agree to its terms of use.
Next, Trust Wallet will ask if you want to participate in an anonymous statistics collection program. Agreeing or not is entirely your decision. However, the more statistics developers have, the more convenient and reliable the wallet becomes.
That’s essentially it. Your USDT wallet is ready to use.
Receiving a USDT Address on the TRON Network
After creating the wallet, you will immediately receive an address on the TRON network (no manual action required), starting with the letter “T.” This address is displayed in the Trust Wallet or TronLink app under the “Receive” section after selecting the desired network. It is used to receive USDT TRC20 and other TRON network tokens. You can copy it or use the QR code to share the address with a sender for depositing funds, or specify it when withdrawing from an exchange. To start working with USDT, you need to enable its display. Tap “Manage Crypto” (at the bottom).
Find the desired coin (enter “USDT”):
And enable its display. Note that you need USDT on the Tron network (not on other networks!), marked with a red badge. Enable its display:
Now you can return to the main screen and see that USDT Tron has appeared there.
Next, the wallet will ask you to select the coin in which you want to receive funds.
In our case, this is USDT Tron, so we select it. As a result, a QR code and a deposit address will be displayed.
If your counterparty will be sending from a mobile app, you can send them the QR code. If they are using a desktop app or a cold wallet, the alphanumeric address (on the green background at the bottom) is more suitable. For convenience, you can copy it to the clipboard to avoid manual retyping.
Receiving USDT Tokens and TRX Coins for Gas Fees
For USDT transfers to be possible, your wallet must hold a small amount of TRX coins. These are used to pay gas fees for executing transactions on the TRON network. Usually, having a couple of TRX in your balance is enough to conduct several operations. You can obtain TRX by transferring them from your exchange to the TRON wallet address you received earlier, or by asking acquaintances to send you a small amount of TRX to get started. After that, you can fund your wallet with USDT tokens by specifying your TRON address when withdrawing from an exchange and selecting the TRC20 network, which will ensure a fast and inexpensive transfer.
Withdrawing USDT TRC20 from Trust Wallet
When you need to withdraw USDT TRC20 from Trust Wallet, open the app and select the USDT token from the list of available assets.
Next, tap the “Send” button.
Here, you need to specify the recipient’s address on the TRON network and enter the transfer amount. If the transaction recipient asked you to include a memo, do so, as it is important for the operation of certain services, including exchanges and swap platforms. The app will display the fee in TRX, which will be deducted from your balance upon execution. After verifying the entered data, confirm the transaction, after which it will be sent to the TRON network. Transfers usually take a few seconds, after which the tokens arrive at the recipient’s wallet and appear in their app.
How to Track a USDT Transaction on the TRON Network
Tracking USDT transactions on the TRON network is convenient using the Tronscan blockchain explorer. After sending USDT from Trust Wallet or another app, you will receive a transaction identifier (TxID). This identifier is usually displayed immediately after sending or is available in the transaction history within the app.
To check the transfer status, simply copy the TxID and paste it into the search bar on tronscan.org. A page with details about your transaction will open, showing the status (successful or failed), sender, recipient, exact amount of USDT tokens transferred, and the TRX fee amount deducted for executing the transaction.
If the transfer was executed correctly, the status line will display “Success,” and funds will be credited to the recipient’s wallet within seconds after network confirmation. In case of delays or issues, Tronscan will allow you to verify whether the transaction was sent, check the correctness of the specified address, and record the exact transfer time, which can be useful when communicating with exchange or service support.
Conclusion
USDT TRC20 remains one of the most convenient tools for payments and storing funds in cryptocurrency thanks to its dollar peg and the capabilities of the TRON network. It combines high transfer speed, low fees, and accessibility even for those just starting to learn about cryptocurrencies. Creating a wallet for working with USDT requires no special knowledge: simply install Trust Wallet or TronLink, generate a seed phrase, fund your balance with TRX coins to pay fees, and obtain your own TRON address, ready to receive tokens.
Transfers on the TRON network take only a few seconds, allowing you to quickly move USDT between exchanges and crypto wallets without losing time or funds to high fees. The ability to track transactions via Tronscan adds transparency and control over the movement of your funds.